| Step | | Procedure & Parts & Tools |
| 1 |
|
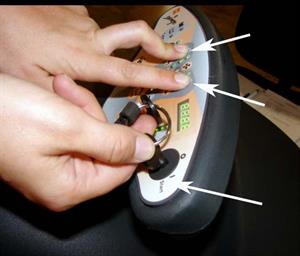
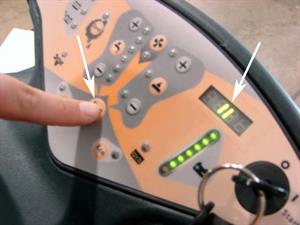
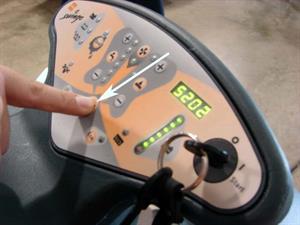
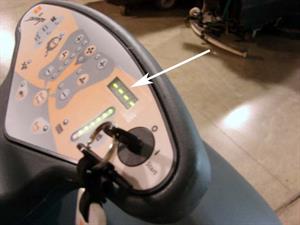
Press and hold the solution flow and brush pressure plus buttons and turn the key to the on position until screen displays S100.
|
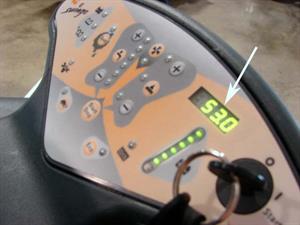
| 2 |
|
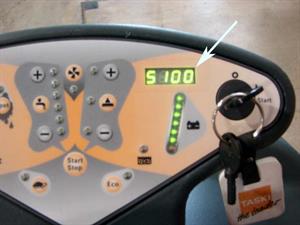
Screen displays S100 as pictured here.
|
| 3 |
|
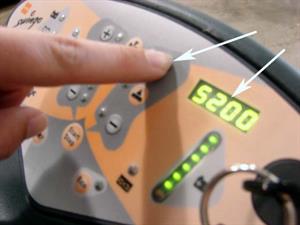
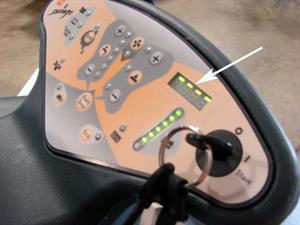
Press the brush pressure plus button until the screen displays S200.
|
| 4 |
|
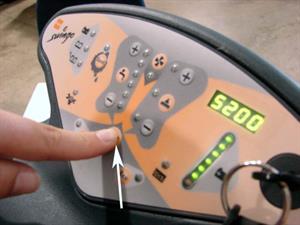
Press the start/stop button to enter into the S200 sub menu.
|
| 5 |
|
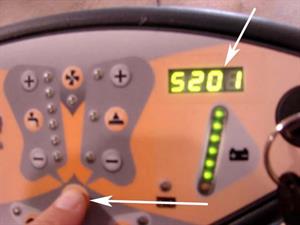
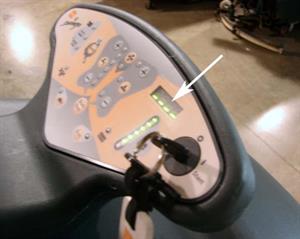
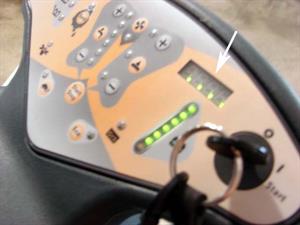
When you have entered into the S200 sub menu, the screen will display S201.
|
| 6 |
|
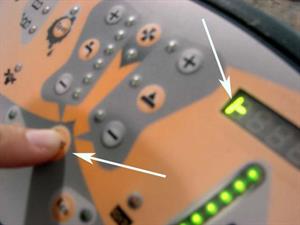
Press the start/stop button to display the symbol shown here.
|
| 7 |
|
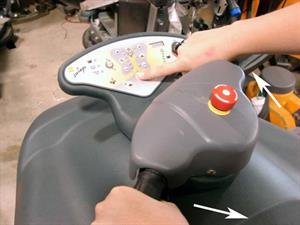
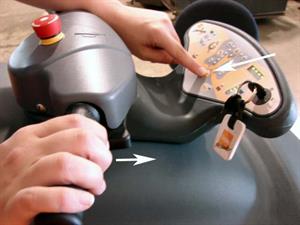
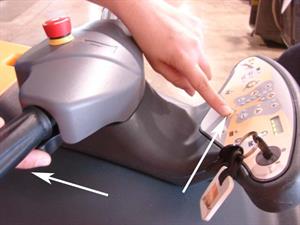
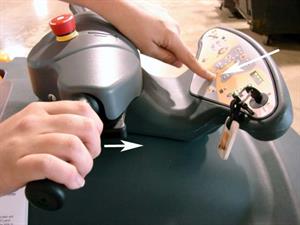
Turn the handle all the way to the left. While holding it in position, press the start/stop button.
|
| 8 |
|
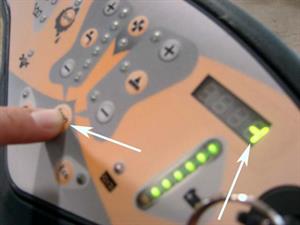
The symbol will change to the symbol shown here.
|
| 9 |

|
Turn the handle all the way to the right. While holding it in position, press the start/stop button.
|
| 10 |
|
The screen will display the symbol pictured here.
|
| 11 |
|
Hold the handle straight and press the start/stop button.
|
| 12 |

|
The screen will display 4 dots across the bottom indicating the settings have been saved.
|
| 13 |
|
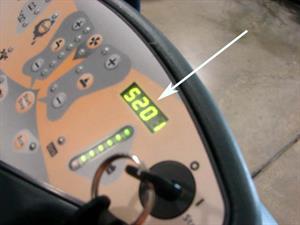
The screen will display S201, and you are now able to continue on to the other sub menus.
|
| 14 |
|
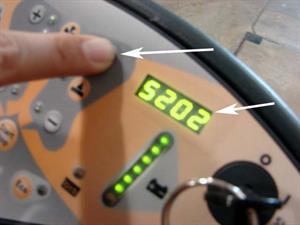
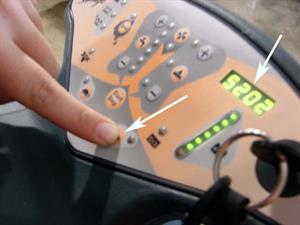
Press the brush pressure plus button until the screen displays S202.
|
| 15 |
|
Press the start/stop button to begin setting the throttle hall sensors.
|
| 16 |
|
The screen will display 4 dashes across the top.
|
| 17 |

|
Push the throttle levers all the way forward and press the start/stop button.
|
| 18 |
|
The screen now displays 4 dashes across the bottom.
|
| 19 |
|
Pull the throttle levers all the way backward and press the start/stop button.
|
| 20 |
|
The screen will now display 4 dashes across the middle.
|
| 21 |
|
Press the start/stop button.
|
| 22 |
|
The screen will display 4 dots across the bottom indicating the settings have been saved.
|
| 23 |
|
Press the Eco button to back out of service mode.
|
| 24 |
|
When the screen returns to the battery voltage display, you have completed training the hall sensors.
|